
Plenty of people only think about their chimney when the first cool evening arrives and they want a fire. Others notice a problem in spring after a wet stretch of weather. Either way, a search for “chimney tuckpointing” usually starts with a simple question: does this need fixing now? Here you will find practical answers about mortar joint repointing for homes in Langley, including what the work involves, how long it takes and how to keep the chimney sound afterward.

A chimney’s parts fall into three groups: the weatherproofing outside, the flue liner inside and the working parts at the bottom. Weatherproofing means the cap, the crown, the flashing and the face of the bricks and mortar. The liner is the channel that handles heat and corrosive exhaust. Down at hearth level are the pieces people actually touch, such as the damper handle, the firebox walls and the ash dump door. On a prefab system, a framed chase and its sheet metal top replace the brick. When we diagnose a problem, we trace it to one of these groups first, because that decides what the fix looks like.
In everyday use, tuckpointing means the same as repointing: replacing failing mortar joints, one of the most common chimney jobs we do. Mortar is meant to be the sacrificial part of a brick wall: it is softer than the brick and wears first, which is exactly what you want. After enough seasons of rain, sun and temperature swings, joints shrink, crack and wash out. Tuckpointing removes that worn material and replaces it with mortar matched to the original in strength and color. Done properly, it restores a weathertight surface without disturbing sound bricks, so the chimney keeps its original look.
Chimney repair is important because a chimney has two jobs that both depend on it being sound: carrying smoke and combustion gases out of the house, and keeping rain and snow out of the structure. A cracked crown, a loose cap or a failing seal lets water into the masonry, the roof framing and the walls around the fireplace, and that kind of damage spreads quietly. A fault inside the flue can let heat or gases reach places they should not. A fireplace that still lights is no proof that everything is fine, so it pays to fix small problems while they are still small and inexpensive.
Spalling is almost always a water story, and the pattern of the damage tells us where the water comes from. Flaking concentrated near the top of the stack points to a cracked crown or a missing cap. Damage along one side often matches the direction of driving rain. Bricks that crumble right next to newer, gray, very hard mortar suggest a past repair used the wrong mix. A non-breathable sealer painted on years ago can also trap moisture behind the face. Replacing bricks without fixing the cause just starts the clock again, so we deal with both at once.
It will stop leaks that come through failing mortar joints, but not leaks that start elsewhere. Water often enters through a cracked crown, a missing cap or worn flashing, and new joints cannot fix those. Porous bricks can also absorb rain even when the mortar is sound. That is why a leak should be diagnosed before any masonry work is booked. When the joints are the problem, repointing them can make a noticeable difference after the first heavy rain. Ask anyone quoting “chimney tuckpointing” whether they checked the crown, cap and flashing as part of the estimate.

A chimney needs tuckpointing when its mortar joints are cracked, recessed or crumbling. Look for joints that sit noticeably deeper than the brick face, sandy mortar that could be scratched out with a key, hairline cracks running along the joints and dark voids where mortar has fallen out. Grit collecting on the roof or in the gutter below the chimney is another clue. Binoculars from the ground or a photo taken from a safe window give you a good view without climbing. If more than a few scattered joints look this way, repointing is usually due.
Tuckpointing is done joint by joint, and we start by testing a few to see how deep the damage goes and what mortar the chimney was built with. Older chimneys often have softer, lime-rich mortar, and a much harder modern mix next to it can crack the bricks over time. After grinding failed joints back to sound material and rinsing out the dust, we pack new mortar in thin lifts and strike it to match the existing joint profile. For color, we compare dried samples against the old joints rather than guessing. The chimney is kept out of hard rain while the new mortar sets.
The main tools are an angle grinder with a diamond blade or a mortar-raking attachment to cut out old joints, plugging chisels and a hammer for detail work, a stiff brush or compressed air to clear the dust, and narrow pointing trowels to pack fresh mortar in. A jointer or striking tool shapes the finished joint to match the original profile. Masons use dust control and protection for the roof and windows, since grinding throws fine dust. Mortar is mixed in small batches so it stays workable. Seeing the right tools on site is a good sign your mortar joint repointing will be done carefully.
Anything from a morning to several days, depending on the part, the access and the material. A damper repair or cap swap rarely keeps us past lunch. Flashing and chase covers depend on the roof, so a steep pitch or fragile shingles add hours. Masonry is the slow one, not because the work itself drags but because mortar and crown concrete need dry, mild weather and time to firm up between steps. A full rebuild above the roofline can stretch over several visits. When we quote, we give you a working estimate and tell you plainly what could push it longer, such as hidden damage.

The hardest part is often deciding to deal with it. Once you call (778) 909-9614, we take care of the scheduling, explain the visit and send a technician to your home in Langley. It is a straightforward way to get your chimney looked after.
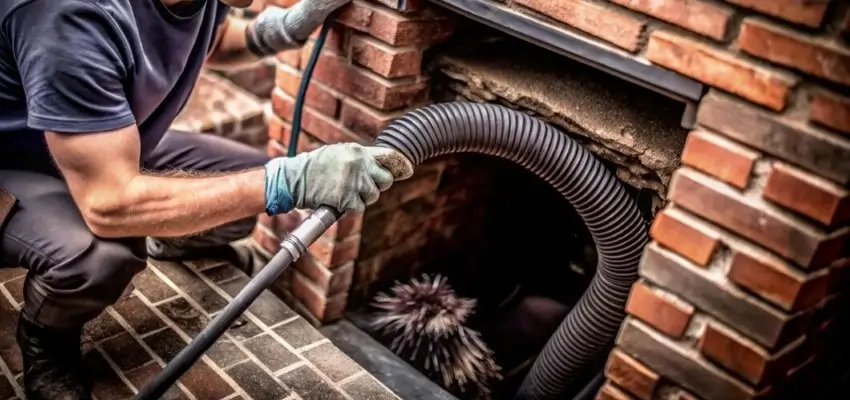
Chimney Cleaning that lifts soot and creosote in Langley

Careful Chimney Sweep for wood fireplaces and stoves in Langley
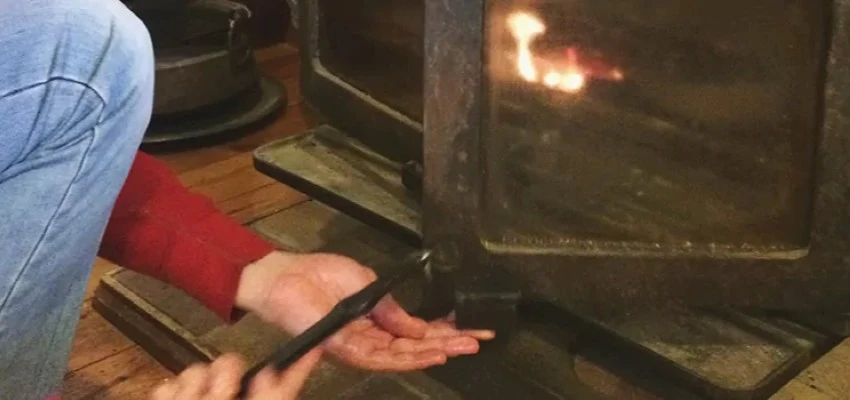
Flue brushing, damper checks, cleanup: Chimney Sweep Services in Langley
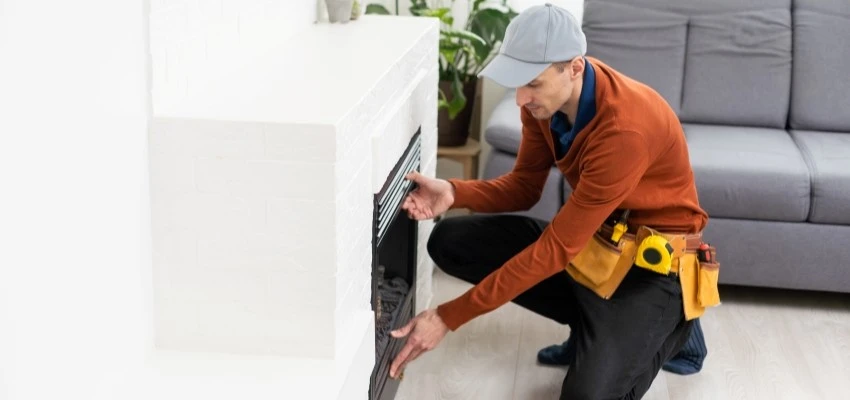
Ready for the season with Fireplace Experts in Langley
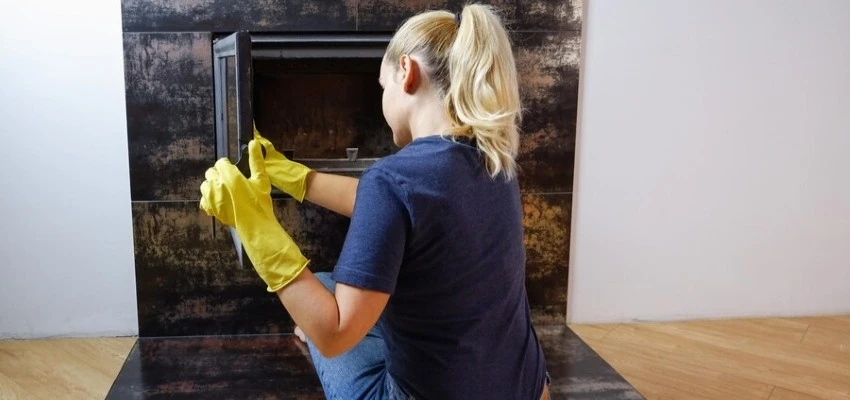
Logs lifted, embers reset: Gas Fireplace Cleaning near Langley
A record of every Gas Fireplace Maintenance visit

