
Towels that need a second trip through the dryer are often the first hint that something is off behind the machine. Many homeowners in Langley start by searching for “dryer lint cleaning” and find more opinions than answers. The practical side of dryer lint cleaning is simpler than it sounds. The first thing worth checking is usually the hose behind the machine, since a crushed or kinked bend there slows drying on its own. If the hose looks fine and the outside flap barely lifts while the dryer runs, the restriction sits somewhere along the duct.

Our cleaning method is nearly identical for both, but we handle a gas dryer with a little more care. Its exhaust carries combustion byproducts as well as moist air, so a restricted vent is about more than drying time. When we pull a gas unit away from the wall, we move it slowly to avoid straining the flexible gas connector, and we make sure nothing is kinked once it is back in place. We also remind homeowners to test their carbon monoxide alarms regularly. With electric models, our extra attention goes to the heavy power cord and the outlet as the machine slides out.
Rigid metal is the safer pick, and in the field the duct material also tells us a lot about how a vent has been treated. Rigid aluminum or galvanized pipe with taped joints usually comes out with a light, even film of lint. Accordion foil tells a different story: lint packs into every fold, low spots sag and hold moisture, and the hose is often squashed flat against the wall. For the short link behind the dryer, a semi-rigid metal transition is a reasonable compromise because it bends without collapsing. For the run through walls and ceilings, we prefer solid metal pipe wherever the layout allows it.
Lint is tiny pieces of fabric that tumbling and heat shake loose from clothes, towels and bedding. Cotton towels, new fleece and flannel shed the most, and pet hair adds to the mix. Every load releases some, and most of it lands on the screen. The rest rides the airflow into the hose and duct. Homeowners who search for “dryer lint cleaning” are often surprised by how much collects in a year, but it is simply the sum of every load. Washing new towels a few times before drying them on high heat can reduce the early shedding.
A bird nest in a dryer vent should be removed before the dryer is used again, because twigs and grass block airflow and catch lint quickly. Signs include chirping or scratching near the outside hood, nesting material poking out of the opening and a flap that stays open. Avoid reaching into the vent yourself, especially if birds are still inside. A technician can clear the nest, clean the duct behind it and fit a hood designed to keep birds out while still letting lint pass. Nesting season in spring is when this happens most often.
Yes, and on lint-focused visits it is one of the first places we check. The trap housing below the screen acts like a funnel where fine fibers settle, and we clear it with a narrow vacuum wand and brush. Lint also escapes through worn door seals or a loose blower housing and gathers on the floor of the cabinet, close to the heat source. The fluff we find around the base and back of the machine tells us when that is happening. Cleaning inside the cabinet is appliance work, so if it is needed we explain why and what to ask an appliance technician for.

A standard dryer vent cleaning usually takes about an hour, sometimes a little less for a short, straight vent. Longer visits are normal when the run is long, ends on the roof, has many bends or has not been cleaned in a long time. Extra work such as replacing the connector hose or the outside hood adds time too. Plan to be home for the whole visit, keep the path to the laundry area clear and expect a short walkthrough at the end. If you want a closer estimate, describe the vent route and where it exits when you book.
Honestly, a careful homeowner can keep a short vent in decent shape between our visits. Where DIY goes wrong is on long or hidden runs. We regularly find brush heads stuck halfway up a duct, joints pulled apart by an overenthusiastic drill and lint packed tighter by a brush pushed in from the wrong end. Gas dryers add the risk of straining the supply connection when the machine is moved. Our advice: handle the screen, the slot and the outside hood yourself, and call a professional for the duct itself, especially if it has more than a couple of bends.
A dusty laundry room usually means lint is escaping before it reaches the outside. Common reasons include a hose that has slipped off its fitting, a gap at the wall connection, a worn door seal or a torn screen. Some fluff also drifts out when you empty the screen. Wipe surfaces with a damp cloth rather than a dry duster, and check the connection behind the dryer. If the dust returns quickly, a “dryer lint cleaning” visit can find the leak and seal it, which keeps the room cleaner and sends the lint where it belongs.
Clean the dryer lint trap after every load by pulling the screen out and peeling the lint off with your fingers. Every month or two, wash the screen in warm, soapy water with a soft brush, rinse it and let it dry completely before putting it back. This matters if you use dryer sheets or fabric softener, which can leave a film that blocks the mesh even when it looks clean. To test it, run a little water over the screen: if the water pools instead of passing through, it needs washing. Vacuum the slot the screen sits in while you are at it.

If you already know the work needs doing, booking early gives you more choice of dates and less to think about later. Tell us roughly when you would like the visit in Langley and we will hold a time for you. Reserve your visit.
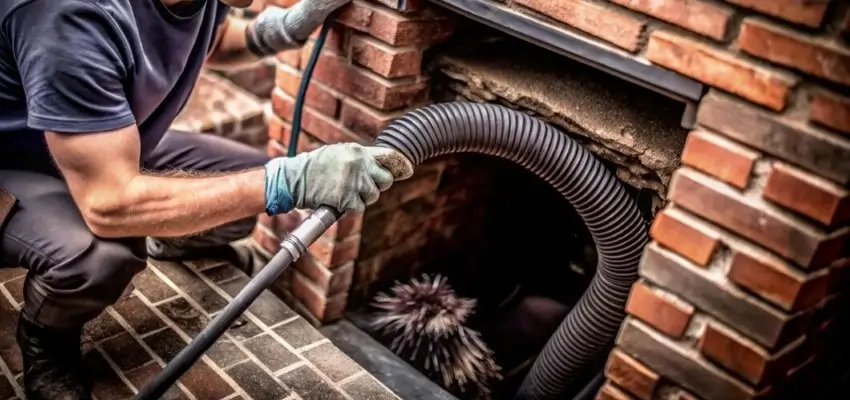
Chimney Cleaning that lifts soot and creosote in Langley

Careful Chimney Sweep for wood fireplaces and stoves in Langley
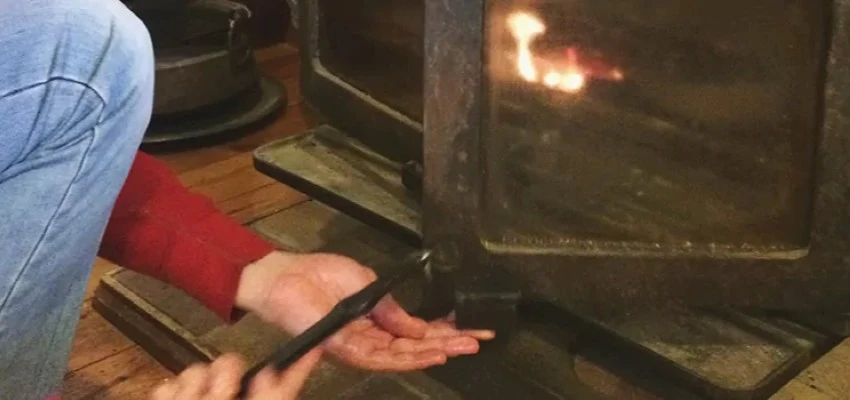
Flue brushing, damper checks, cleanup: Chimney Sweep Services in Langley

Ready for the season with Fireplace Experts in Langley
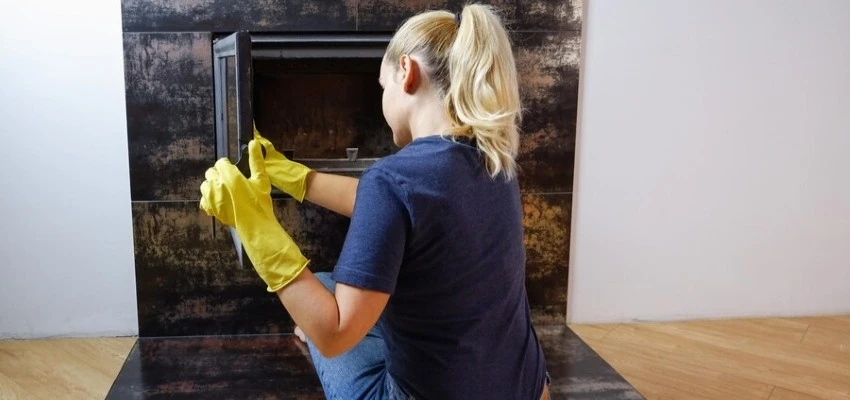
Logs lifted, embers reset: Gas Fireplace Cleaning near Langley
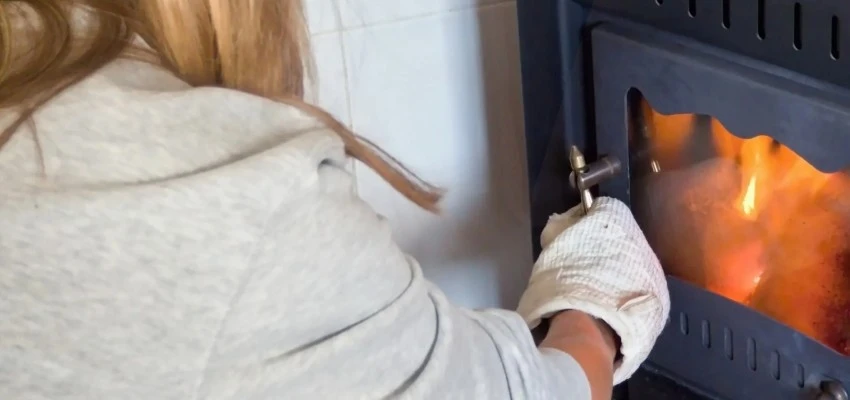
A record of every Gas Fireplace Maintenance visit

